

How To Build a Console Truck Tray
The Problem
This is my 2012 Chevrolet Colorado
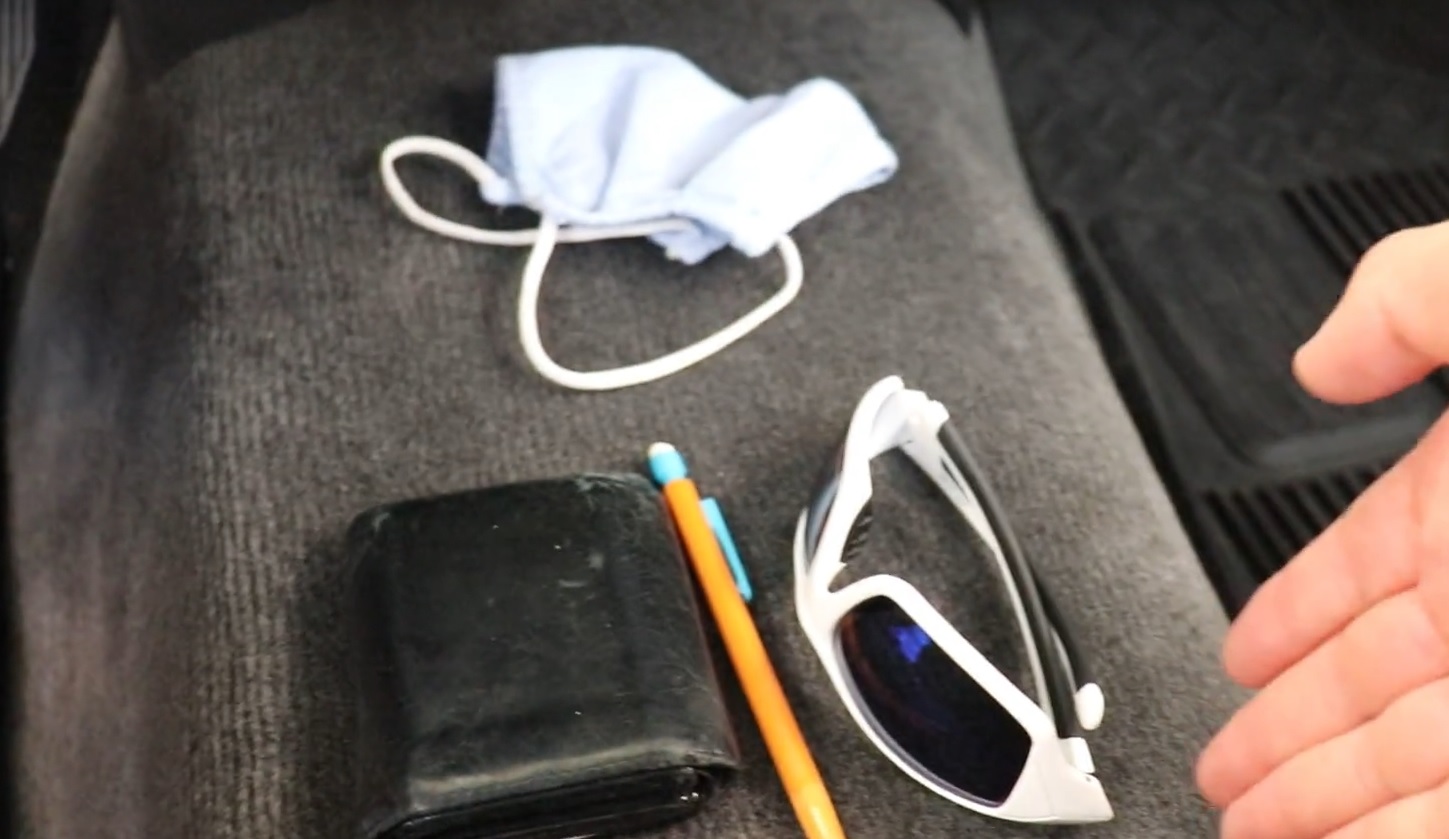
And this is the Colorado’s interior. It’s pretty basic, not a lot of space for things from my pockets.
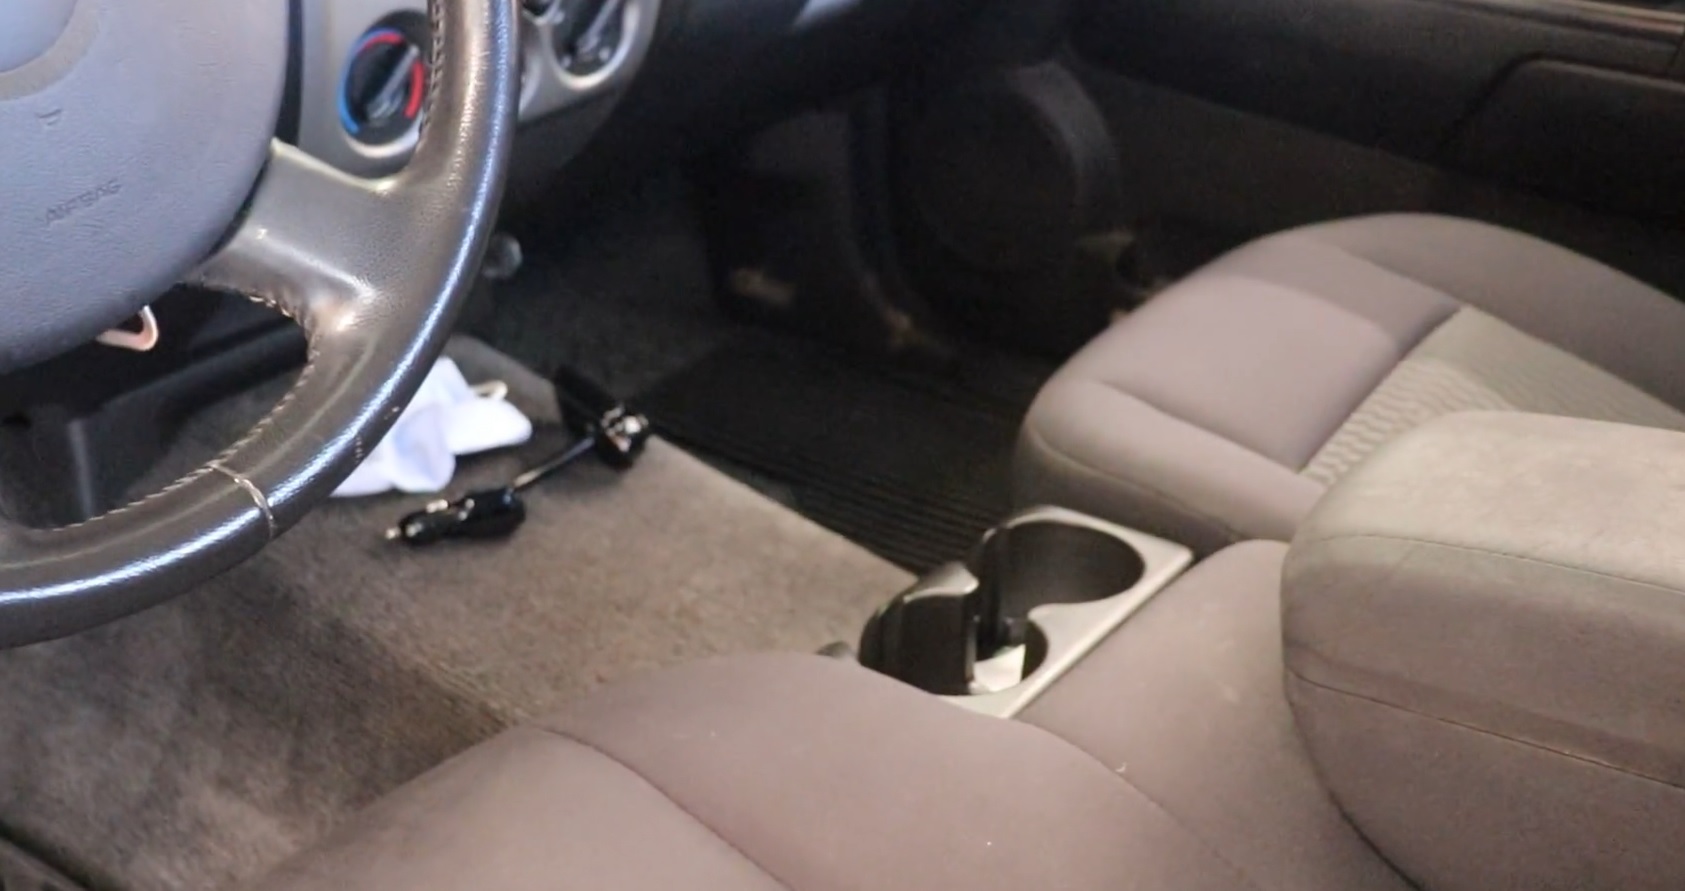
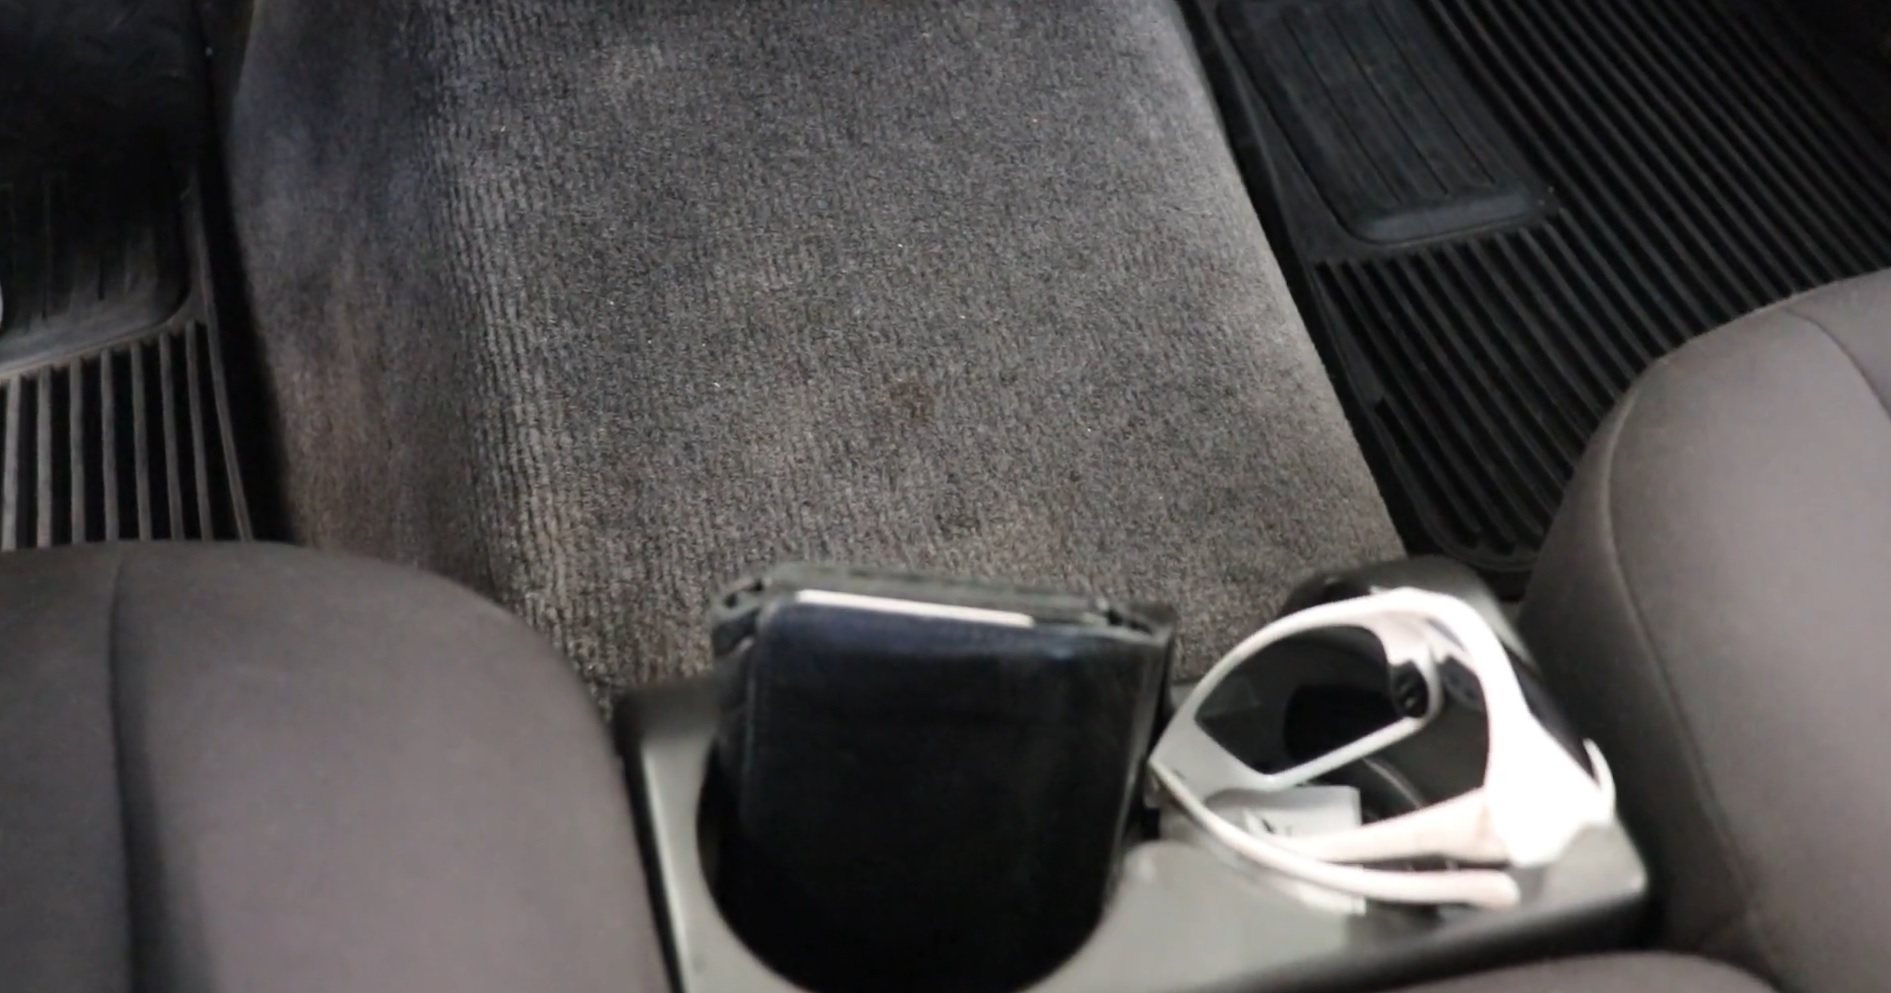
I have two cupholders where I usually stash my wallet, sunglasses and anything else temporarily. And I have a wide open carpeted space where I often set these items and then they slide right off.
The Design
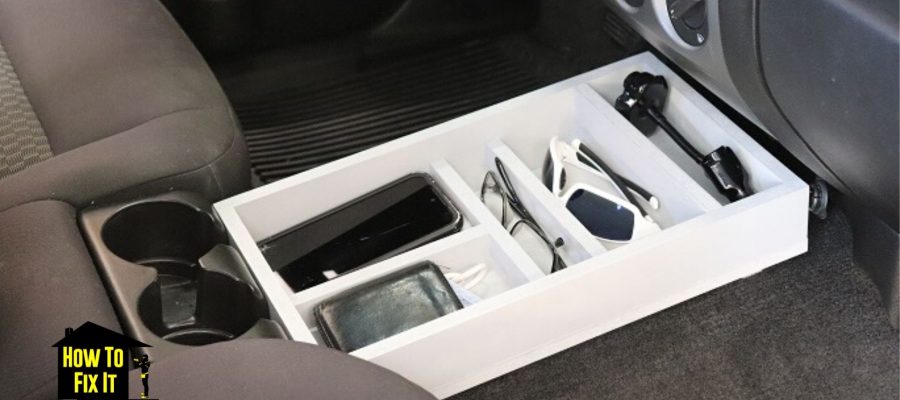
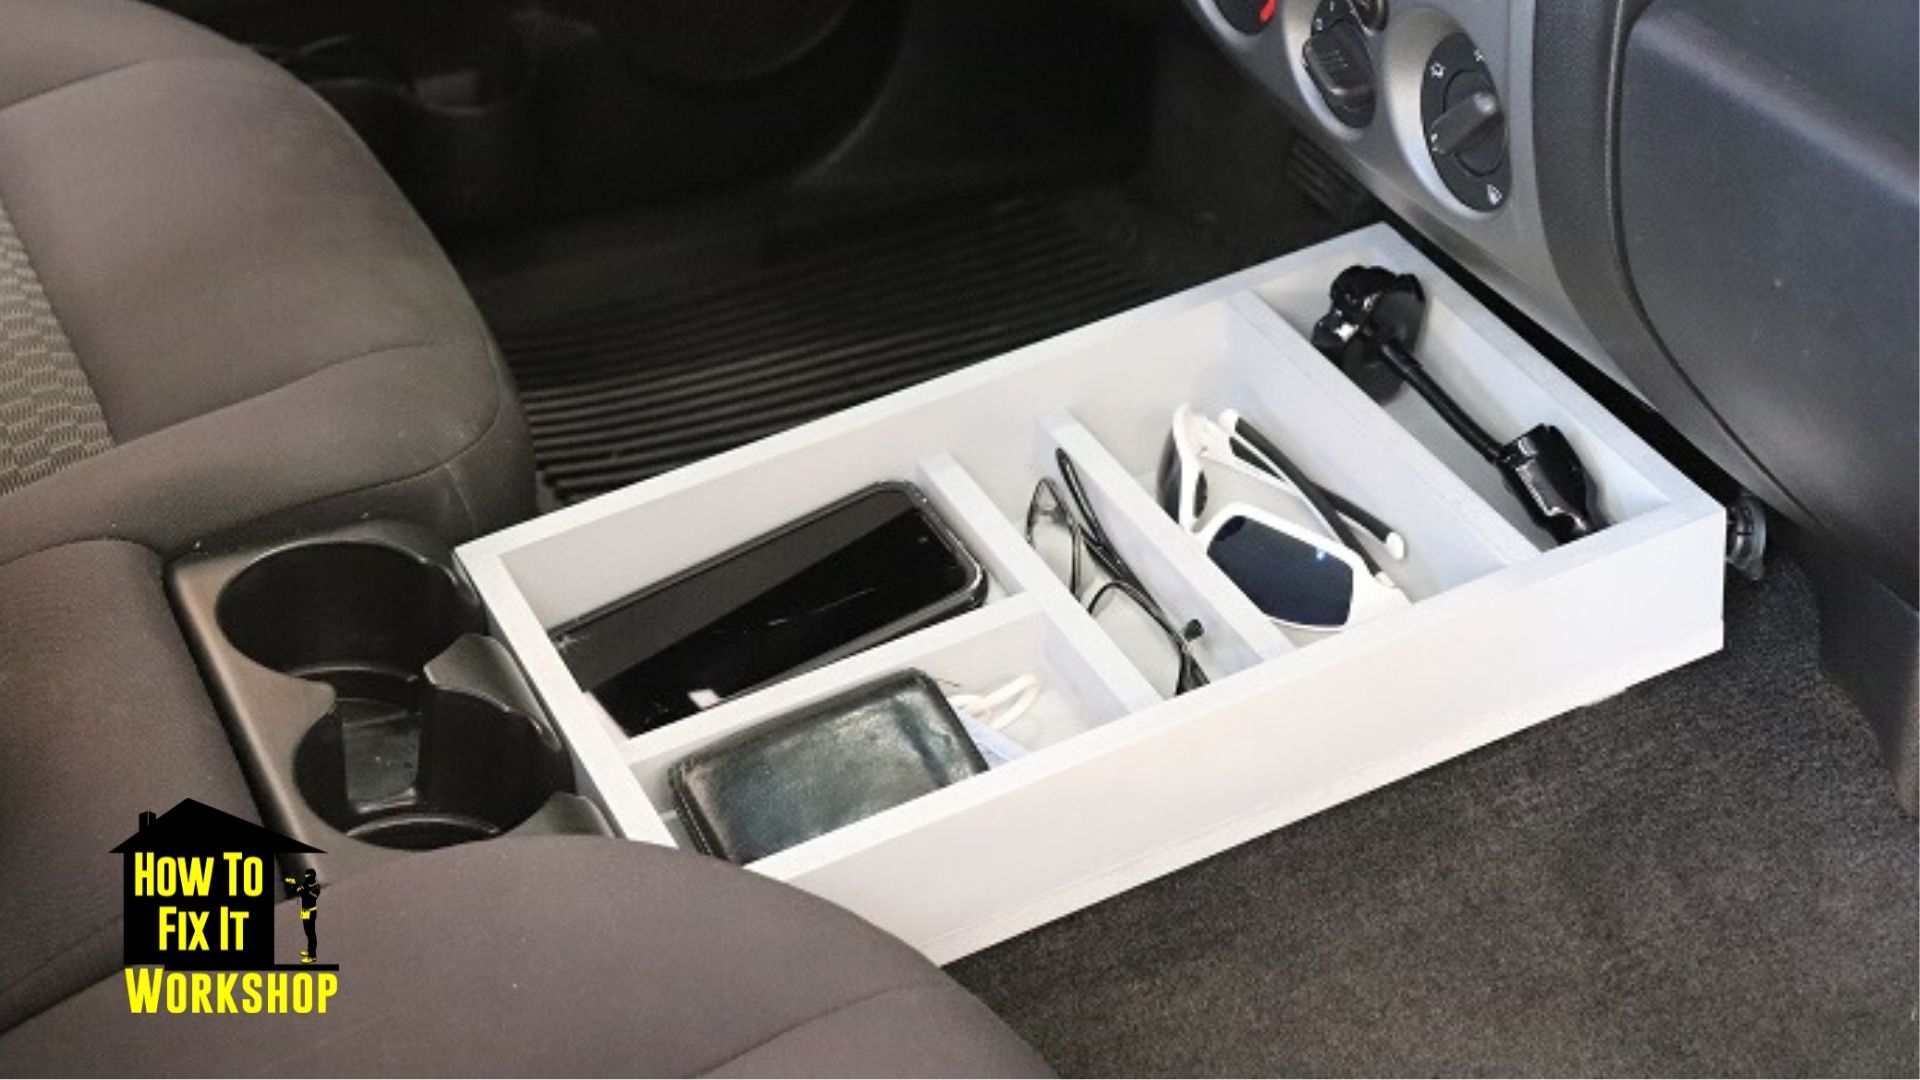
What I’d like to have is a console extension, or a tray with dividers that will sit in this carpeted area.
I found a piece of scrap MDF from my Toy Box Project and cut it down to fit my space, roughly 9 inches wide and 16 inches long. These are the dimensions for my space with the Colorado truck seat set at my distance from the pedals and steering wheel. If you are making something similar for your truck, your dimensions may be different. I realized after I finished that I have to remove the tray any time the seat needs to be adjusted forward. I should have made the tray a little shorted to allow for changes to the position of the seat.
The Build
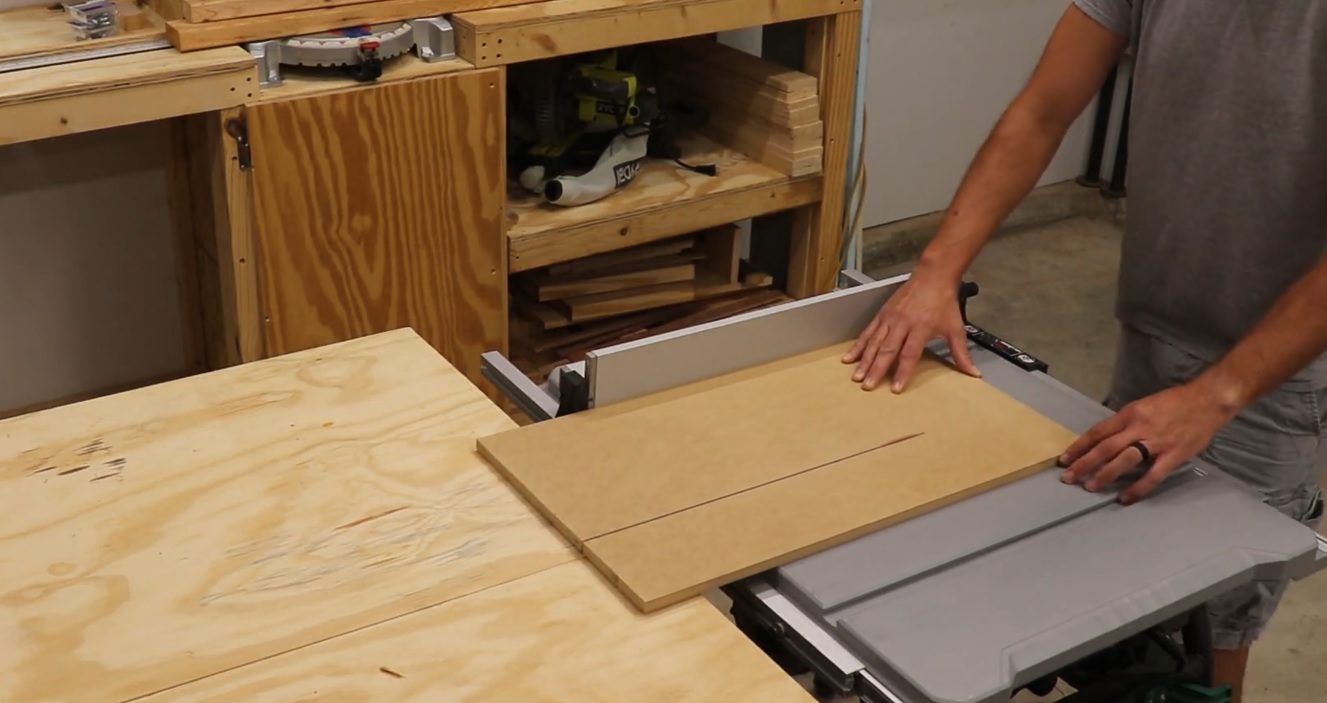
My table saw, drill and tape measure were pretty much the only tools I used for this project.
I also cut down the 2 inch and 1 inch divider pieces out of the same scrap piece of MDF.

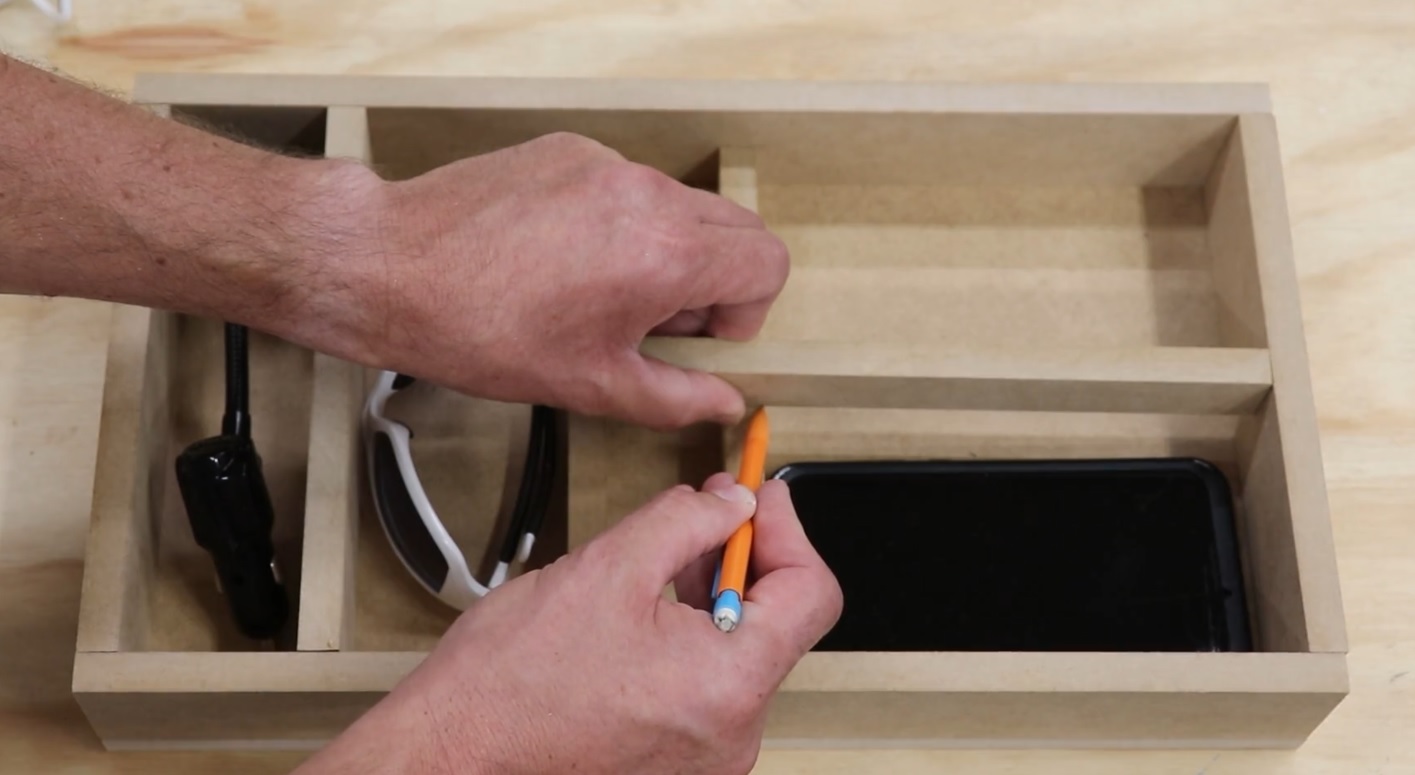
Here’s a dry fit of the compartments and how I measured for an additional cross piece
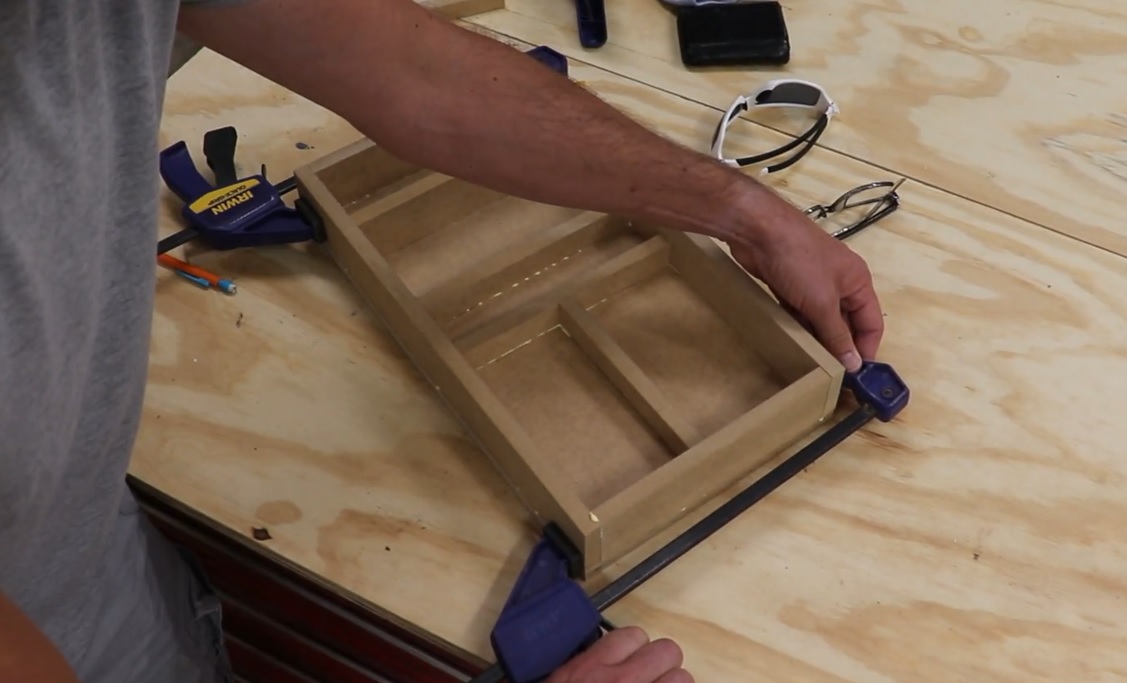
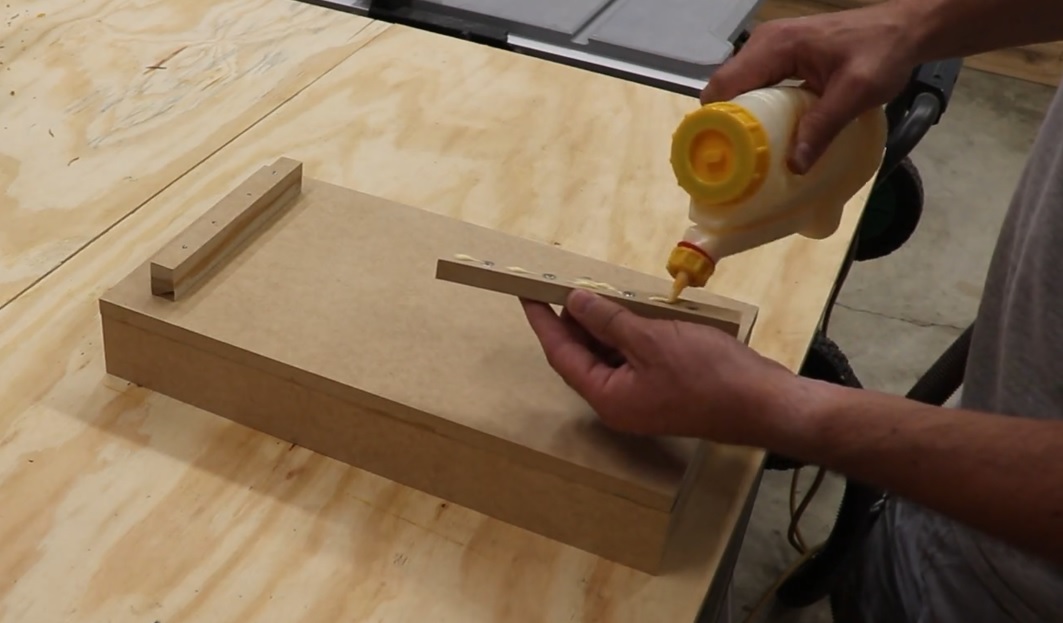
I traced out the spots where the divider pieces would sit, then ran a small bead of glue in those areas.
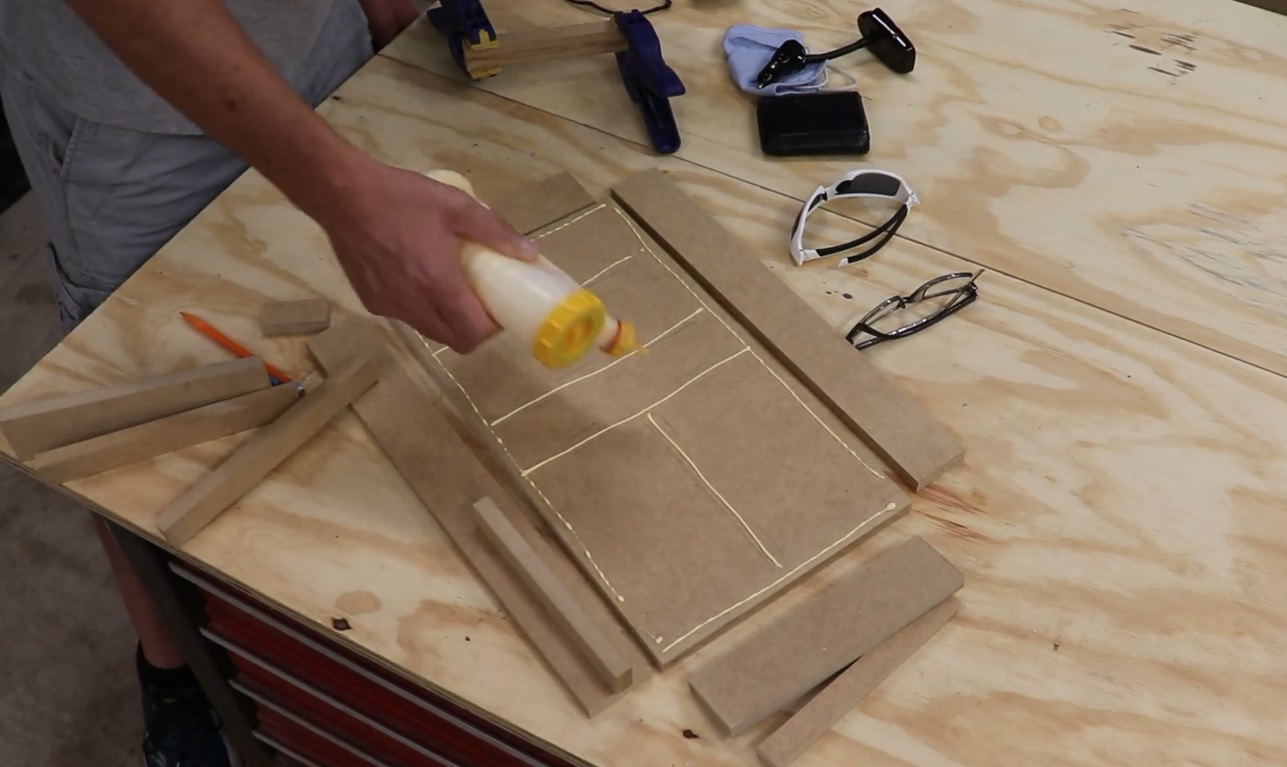
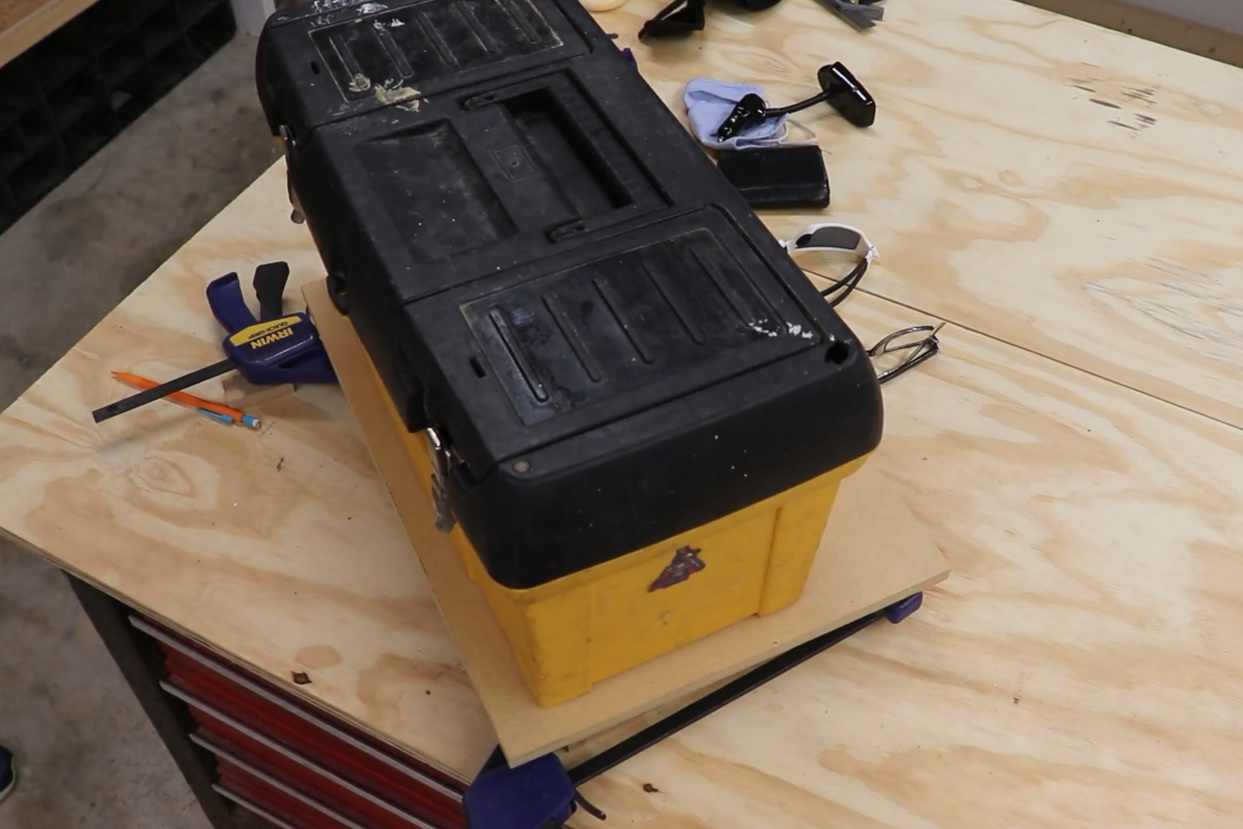
I clamped the end pieces then used another scrap piece of MDF and my tool box as a weight to hold all the pieces in place while the glue dried.
The Feet
These next few steps are for the two feet that will hold the tray in place and keep it from sliding off the carpet.
One foot is about an inch thick and the other is half inch thick. This will allow the tray to tilt slightly toward me while I’m driving.

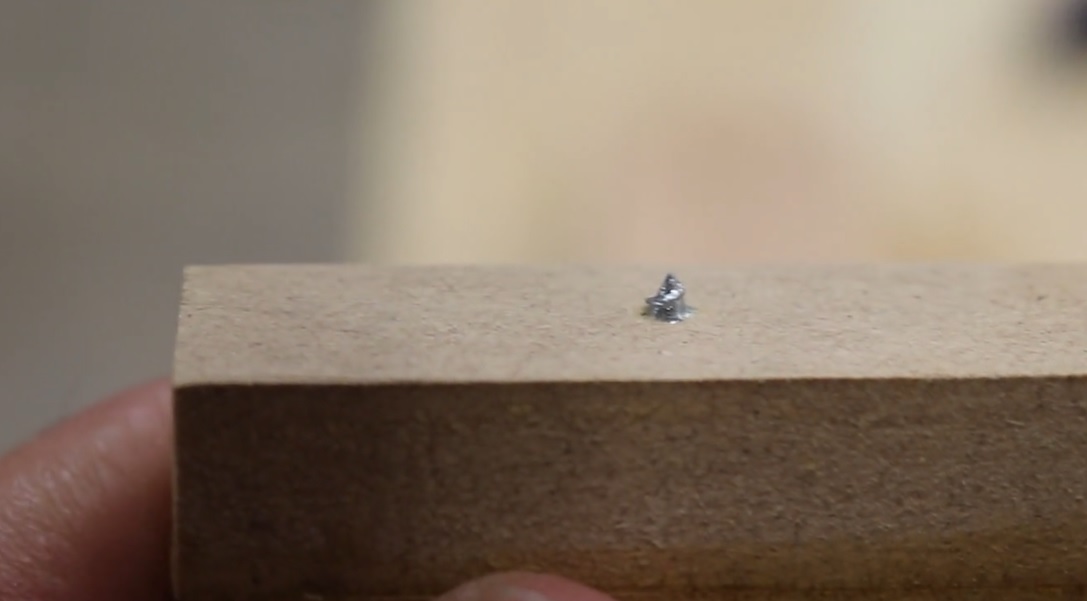
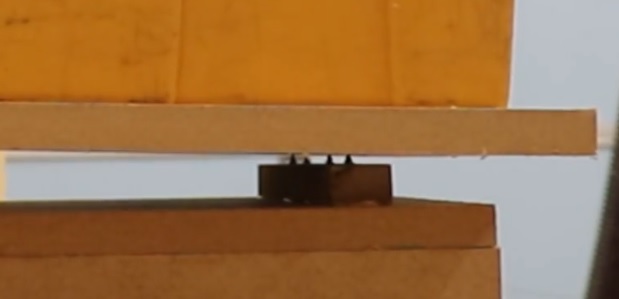
I drilled and countersunk four screws into each foot allowing the screw tip to come through the MDF.

These screw tips will grab the carpet and prevent the tray from sliding.
The Test
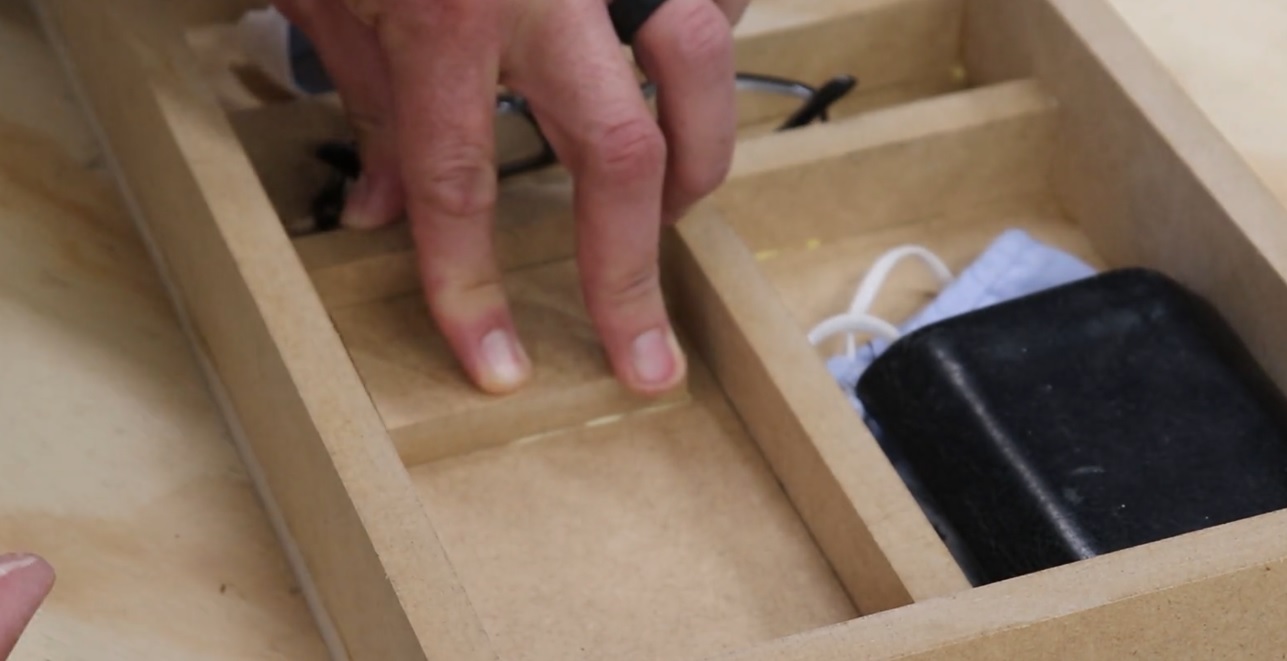
Another quick test of fitting everything into the divided slots and I realized it was a little tough to pick up my phone.
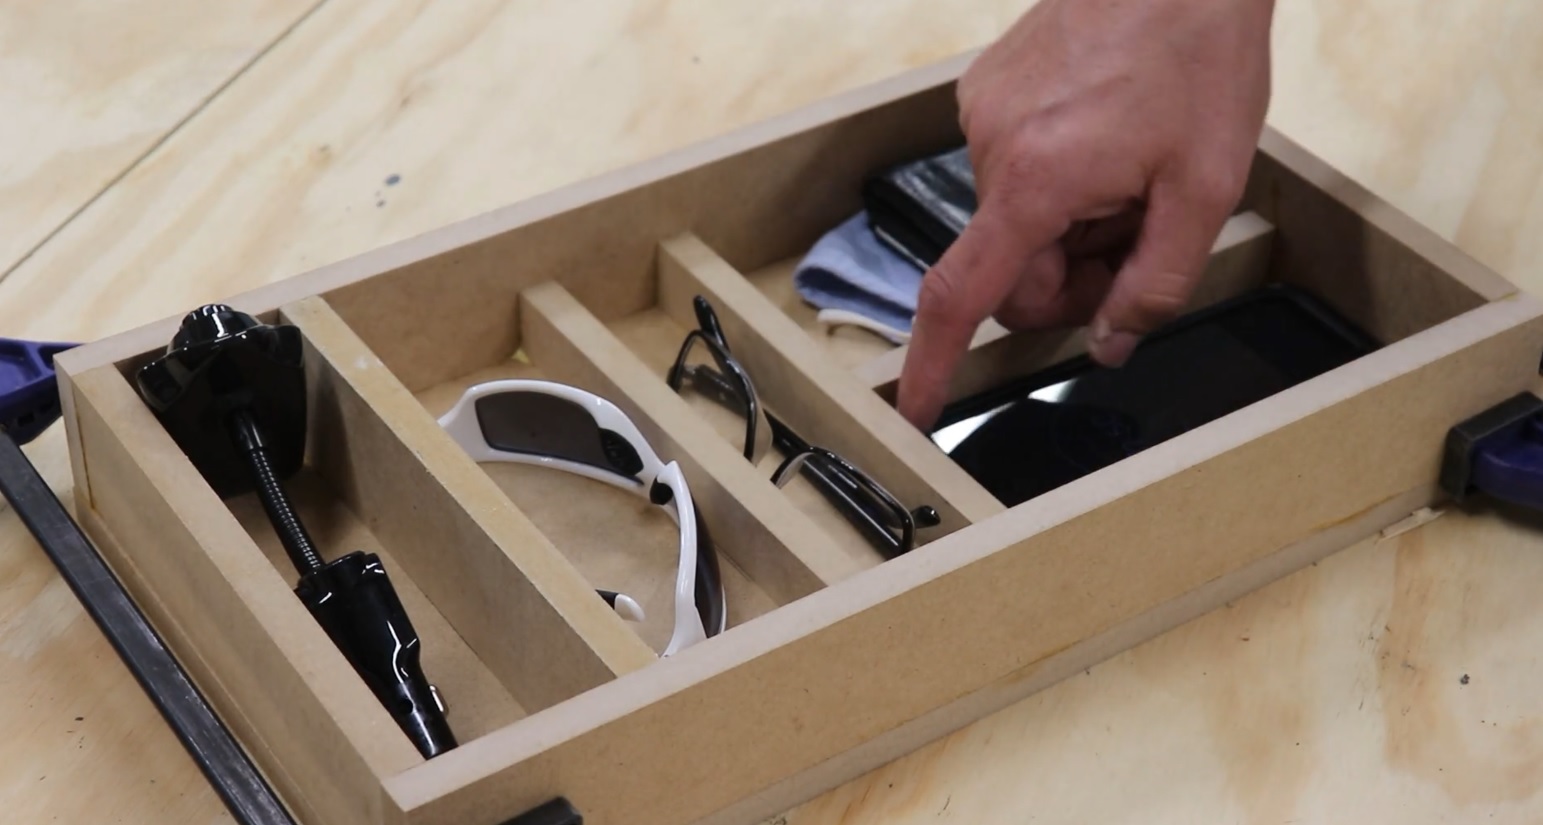
So I added a this little block to the top of the phone slot for easier access.
After the tray compartments were completely dry I flipped the whole thing over and attached the feet with glue.
I used the same clamping method, that other piece of MDF and my tool box.

Here you can see the tips of those screws holding everything up.
The Finish
The last step was to primer and paint before bringing it into my truck and loading everything up.
